One Room Challenge – Pool Bath
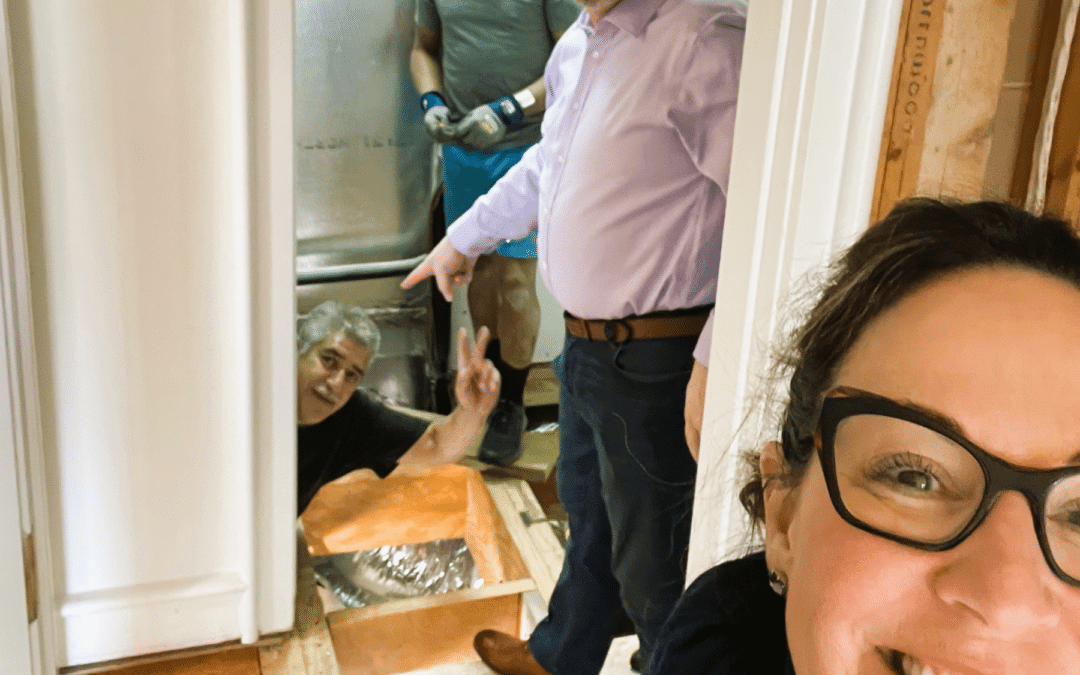
Are you ready to join us for another One Room Challenge? Follow along as we tackle the last remodel project in The White Elephant. The Trade Mark Interiors team truly loves these fun projects and this one is special. It literally hits home for me as this One Room Challenge is our pool bathroom (aka pool bath).
While this remodeling project is going on, the guest bedroom will also be updated. Not much in the way of design will be changed other than adding the hardwood floors and gift-wrapping closet. Who doesn’t love an organized gift-wrapping station, right? We are very excited about it!
We Can See The Light!
This One Room Challenge is the light at the end of the tunnel for The White Elephant. If you have been keeping up with The White Elephant renovation project you know we bought this home as a distressed property. It was built on a crawl space, rather than a slab. Which isn’t really an issue. However, the builder (not Vertical | Design+Build) had not graded the property correctly. Plus, the crawl space was not waterproofed and they placed THREE AC units in the crawl space.
Since 1986 there has been a steady stream of water flowing through the crawl space. As you may already know water and wood are a terrible combination, making all of the floor joists slowly rot away. This meant we had to rebuild the house one floor joist at a time. But we can share more details about that part of the project later.
Game Plan
To prepare for this One Room Challenge project we actually ordered many of the materials a few months ago in hopes of avoiding any delays. Grant had the floor joists for the guest bedroom in the garage for many months. Needless to say, we will be excited to finally have our garage back.
All of our projects begin with a design style and include a finish schedule. A schedule of finishes allows you to be very organized with your design choices and design intent. This allows for great communication with the home builder too. We knew the layout of the space wasn’t changing, so my focus was on the color story, plumbing, cabinet design, and tile selections to start. Grant’s focus was on the game plan for the repairs!
We developed an 8-week game plan, which is a bit aggressive with replacing floor joists. But here we go! To get started, we scheduled the demo crew to work their magic on the flooring in both the pool bath and the guest room. Once this is complete, we can assess any additional work needed to complete the repair of the floor joists.
Behind The Scenes
I’ve been working on the design and ordering of materials such as plumbing, tile, cabinet, lighting, and wallpaper for this ORC. We cannot wait to share more of the design inspiration and other details for this project.
As you can see from the cabinet drawing, we are doing a fun little cabinet with a bit of open storage which will be handy for a pool bath. We actually ordered this cabinet when we did the TWE bar so it’s been waiting for quite a while to be installed. Can’t wait to see this little beauty with so much personality!
The before photos of any remodeling project are always fun to see, but what you can’t see is the cracked tile, cracked walls, and damaged flooring! We’re updating this little bath to a fun poolside gem that is easily accessible from the pool and the guest room. It was important to me that this design be playful and I can’t wait to see it come together!
Want to see more of this project? I will be giving you updates on this One Room Challenge over the next 8 weeks!
Cheers!!

